How to Install
Intro
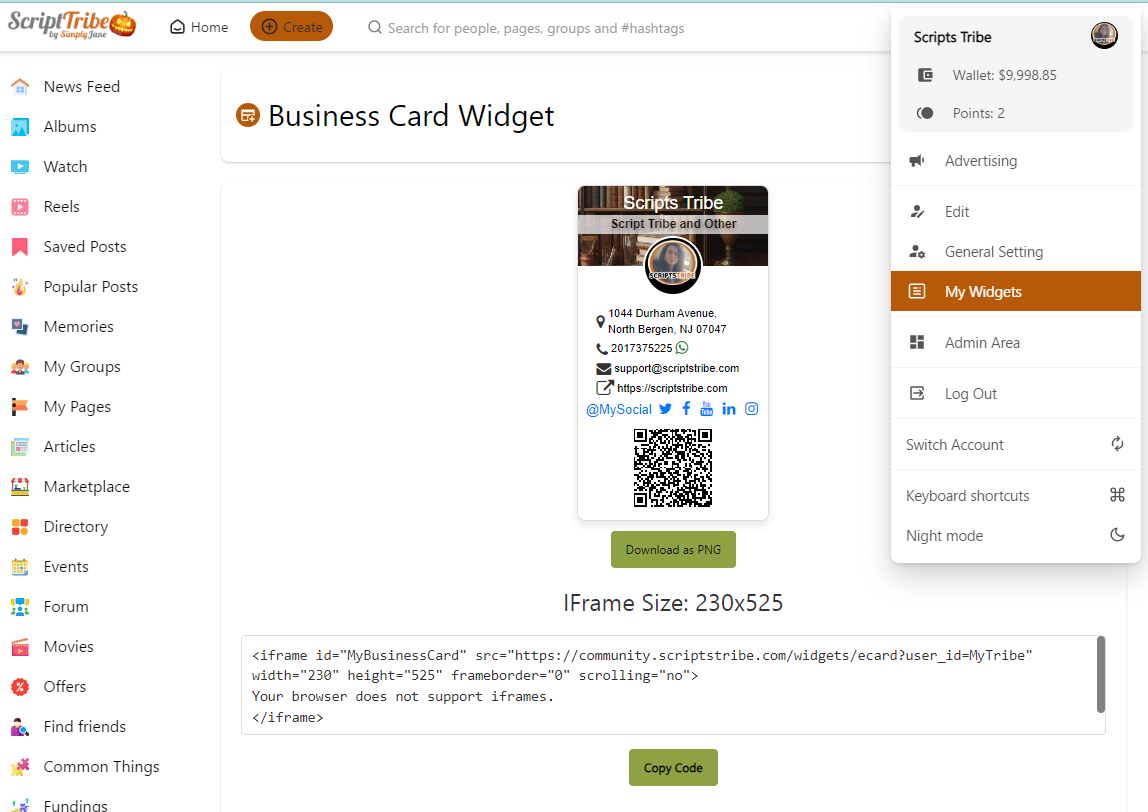
Welcome to the installation tutorial for the eCard Widget, a dynamic simple digital business card solution designed for seamless integration with your website. The eCard Widget allows users to create and embed a personalized, interactive business card that includes their profile picture, contact details, social media links, and more, all in a visually appealing format that can be iframed elsewhere.
Whether you're a developer or a site owner, this guide will walk you through the steps to set up and deploy the eCard Widget, ensuring that it works smoothly and integrates effortlessly with your existing platform. Follow the instructions below to get started and provide your users with a professional and customizable way to share their contact information online.
PS: If you installed this addon before, you will need to delete all files and start from zero because I redesigned the links and menu in a way that makes more sense to users.
The demo is in our community at ScriptsTribe, Click here to visit and If you need help reach me out there.
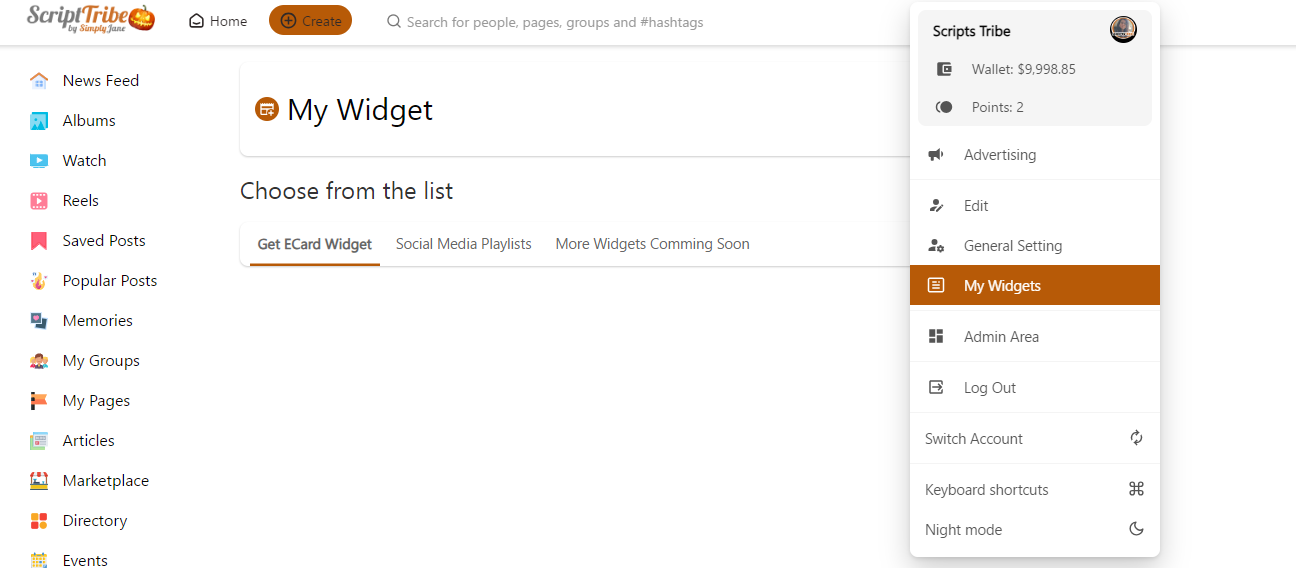
E.g: users will need to click on the widget menu and choose what they want to use, I did it that way because if in te future you buy any other widget from me you will not need to add too many links in the menu. that a look at the last picture here and you will understand.
this tutorial is in your folder but if in the future you need to reinstall you can also find it online by clicking here.
-
Red is for wowonder theme
-
Blue is for sunshine theme
Step 1
-
Upload the files following the zip structure
-
Upload the api.php file to the root directory of your site
Step 2: Open and edit root files first
Open .htaccess and Add
# **** BUSINESS CARD WIDGET****

# **** WIDGETS****
RewriteRule ^widgets(/?|)$ index.php?link1=widgets [QSA]
RewriteRule ^widgets/ecard(/?|)$ index.php?link1=ecard [NC,QSA]
RewriteRule ^widgets/get-ecard(/?|)$ index.php?link1=get-ecard [NC,QSA]
Open index.php and add around page 892
                case 'widgets':
                include('sources/widgets/widgets.php');
				break;

				case 'ecard':
                include('sources/widgets/ecard.php');
				break;

				case 'get-ecard':
                include('sources/widgets/get-ecard.php');
				break;
Step 3: Edit theme files
For Wowonder theme: open themes/yourtheme/layout/timeline/content.phtml and look for around line 1305
<p class="page-margin"><?php echo $wo['user_profile']['about']; ?></p>

			</div>
        <?php } ?>
For Sunshine Theme around line 1442
  <?php if(!empty($wo['user_profile']['about'])) {  ?>
			<div class="page-margin wow_content">
				<div class="wo_page_hdng profile_hdng_side pag_neg_padd">
					<div class="wo_page_hdng_innr"><?php echo $wo['lang']['about']; ?></div>
				</div>
				<p class="page-margin mt-0"><?php echo $wo['user_profile']['about']; ?></p>
			</div>
        <?php } ?>
and after that add
<?php echo Wo_LoadPage('widgets/profile-ecard');?>Open theme/youtheme/layout/header/loggedin-header.phtml and add the next code where you want to show in the menu I placed it right after the general settings on sunshine and wowonder
 <li>
            <a href="<?php echo $wo['config']['site_url'];?>/widgets/">
           <svg xmlns="http://www.w3.org/2000/svg" width="24" height="24" viewBox="0 0 24 24" fill="none" stroke="currentColor" stroke-width="2" stroke-linecap="round" stroke-linejoin="round">
  <rect x="2" y="3" width="20" height="18" rx="2" ry="2"></rect>
  <line x1="16" y1="8" x2="16" y2="8"></line>
  <line x1="8" y1="8" x2="12" y2="8"></line>
  <line x1="8" y1="12" x2="16" y2="12"></line>
  <line x1="8" y1="16" x2="16" y2="16"></line>
</svg>
 My Widgets
            </a>
</li> 

