Installaton Guide
A PWA turns your website into an app-like experience. This setup enables offline functionality, faster load times, and the ability to "Add to Home Screen" on mobile devices.
Click here to see this tutorial online
Before you start, please backup your files, uploading this will overwrite the following files
if you need help or have suggestions please visit the dedicated support forum for this addon here
Step 1: Upload the files
Unzip and upload the files to your root directory according to the folder structure.
Step 2: Add to header (Please backup any file before editing)
Open themes/yourTheme/layout/container.phtml
Look for and comment it out or remove.
<link rel="manifest" href="<!--?php echo $wo['config']['theme_url'];?>/javascript/OneSignalSDKFiles/manifest.json"> Look for <head> at the very top
After that add
<link rel="manifest" href="<?php echo $wo['config']['site_url'];?>/manifest.php">
		<script src="<?php echo $wo['config']['site_url'];?>/service-worker.js" async='async'></script>
		<script src="<?php echo $wo['config']['theme_url'];?>/javascript/pwajs.js" async='async' defer></script>

<script>
if ('serviceWorker' in navigator) {
    navigator.serviceWorker.register('/service-worker.js', { scope: '/' })
        .then((registration) => {
            console.log('Service Worker registered with scope:', registration.scope);
        })
        .catch((error) => {
            console.error('Service Worker registration failed:', error);
        });
}
</script>
Step 3: Adding the popup banner
Open themes/scriptstribe/home/content.phtml
Go to the very bottom and add
	<div id="pwa-popup" style="position: fixed; top: 0; left: 0; width: 100%; background-color: #fff; color:#000000; padding: 15px; text-align: center; z-index: 1000; font-family: Arial, sans-serif; font-size: 16px; display: none; flex-direction: column; align-items: center; box-shadow: 0 4px 6px rgba(0, 0, 0, 0.1);">
    <img src="<?php echo $wo['config']['theme_url'];?>/img/logo.png" alt="Logo" style="width: 150px; margin-bottom: 10px;">
    <span style="margin-bottom: 15px; font-size: 14px;">To get the best experience, open in the app!</span>
    <div style="display: flex; gap: 10px;">
        <button id="install-popup-button" style="background-color: var(--main); color: #000; border: none; padding: 10px 20px; border-radius: 4px; font-size: 14px; cursor: pointer;">Install App</button>
        <button id="close-popup" style="background-color: var(--main); color: #000; border: none; padding: 10px 20px; border-radius: 4px; font-size: 14px; cursor: pointer;">Close</button>
    </div>
</div>
Step 4: Adding the popup banner in welcome page
Open themes/YourTheme/welcome/welcome-users-profiles.phtml
Go to the very bottom and add
	<div id="pwa-popup" style="position: fixed; top: 0; left: 0; width: 100%; background-color: #fff; color:#000000; padding: 15px; text-align: center; z-index: 1000; font-family: Arial, sans-serif; font-size: 16px; display: none; flex-direction: column; align-items: center; box-shadow: 0 4px 6px rgba(0, 0, 0, 0.1);">
    <img src="<?php echo $wo['config']['theme_url'];?>/img/logo.png" alt="Logo" style="width: 150px; margin-bottom: 10px;">
    <span style="margin-bottom: 15px; font-size: 14px;">To get the best experience, open in the app!</span>
    <div style="display: flex; gap: 10px;">
        <button id="install-popup-button" style="background-color: var(--main); color: #000; border: none; padding: 10px 20px; border-radius: 4px; font-size: 14px; cursor: pointer;">Install App</button>
        <button id="close-popup" style="background-color: var(--main); color: #000; border: none; padding: 10px 20px; border-radius: 4px; font-size: 14px; cursor: pointer;">Close</button>
    </div>
</div>
Step 5: Edit the service-worker.js file
Open /service-worker.js
Look for and change wondertag for your theme name
Step 6: Icon Images
Open themes/youtheme/img/pwai and replace these images for the icons. Yes! each image is importantand shows in different places if you delete one the app will not work.
Step 7: Screenshots icons
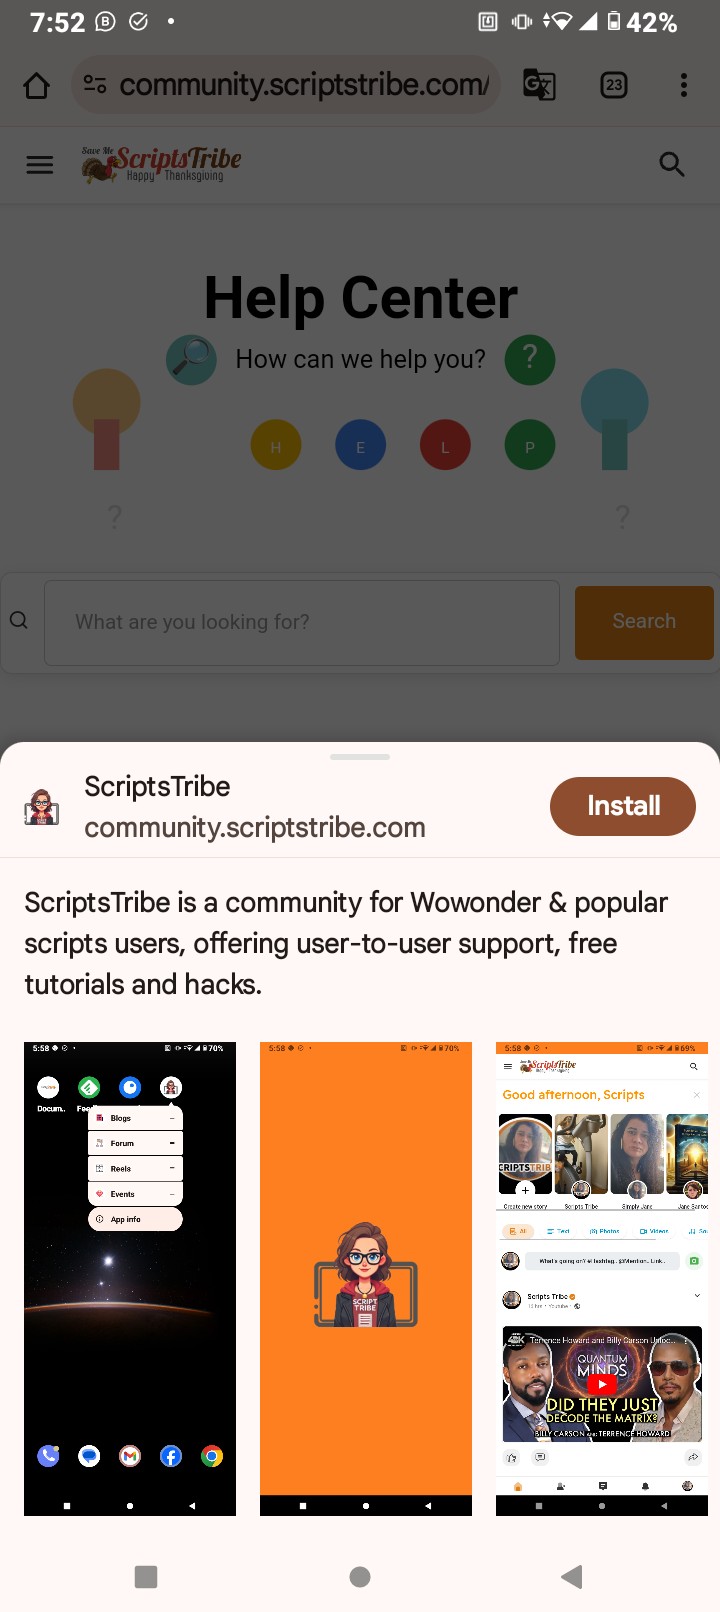
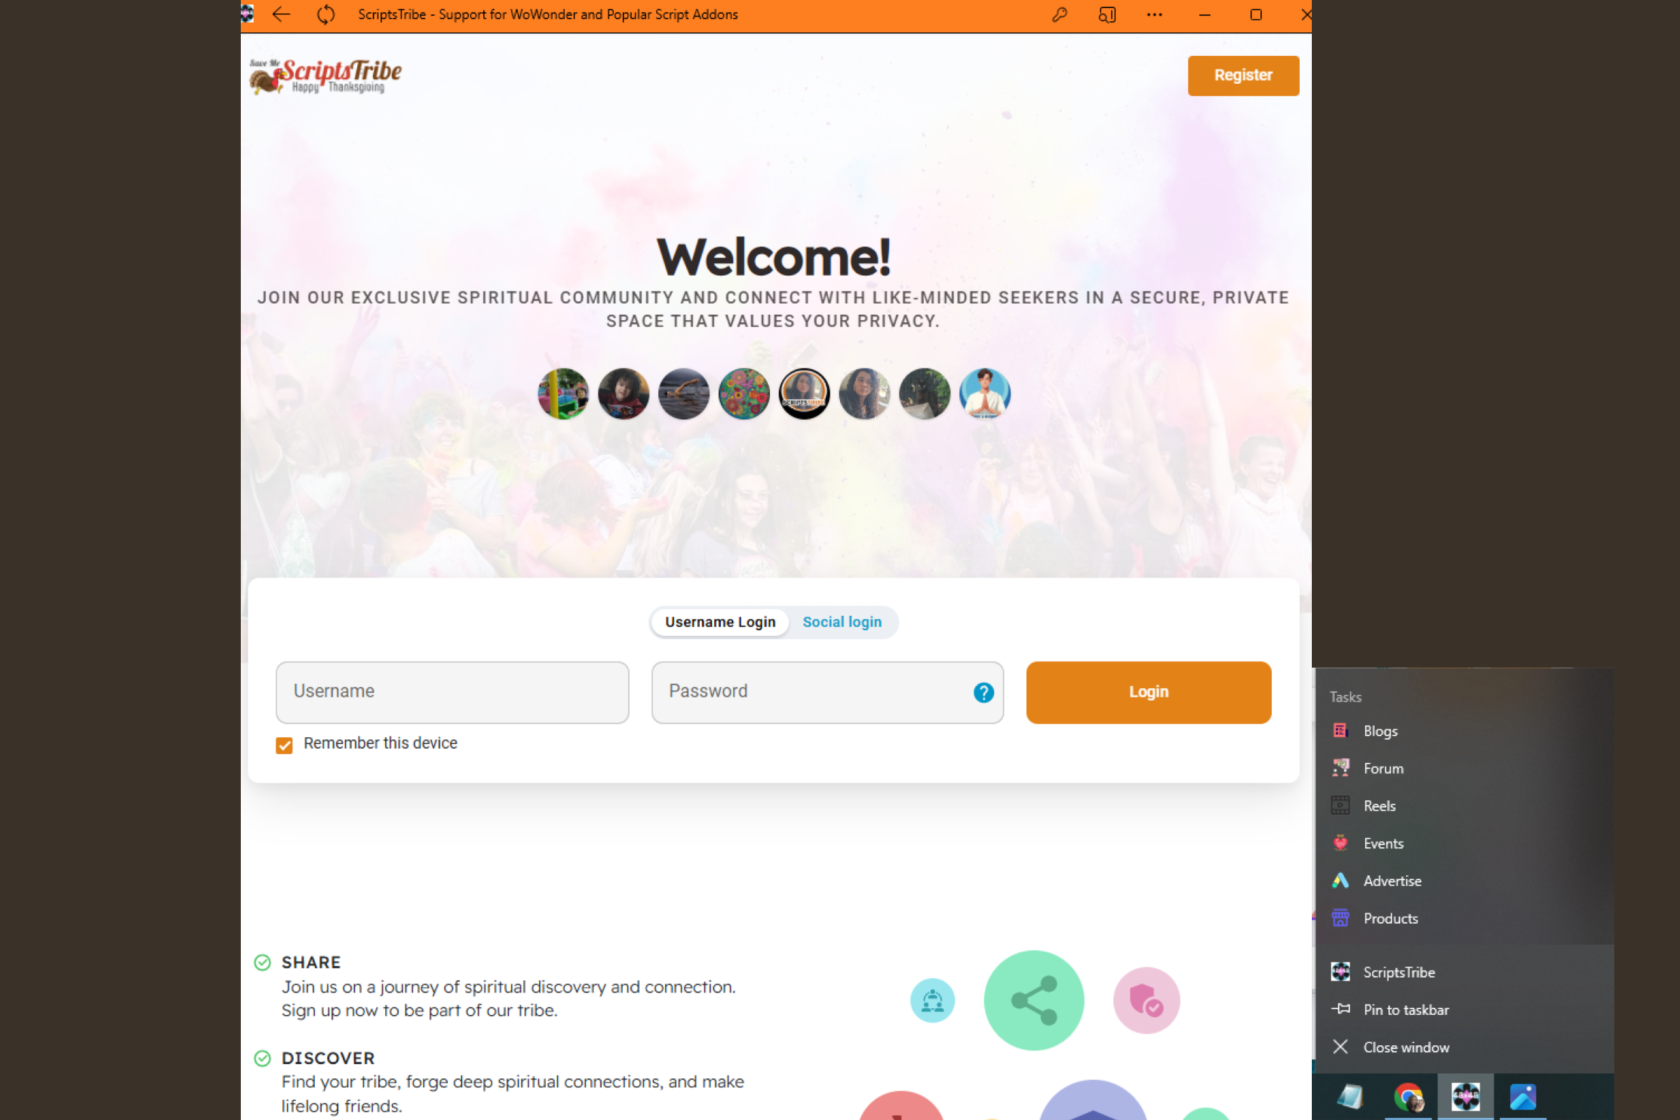
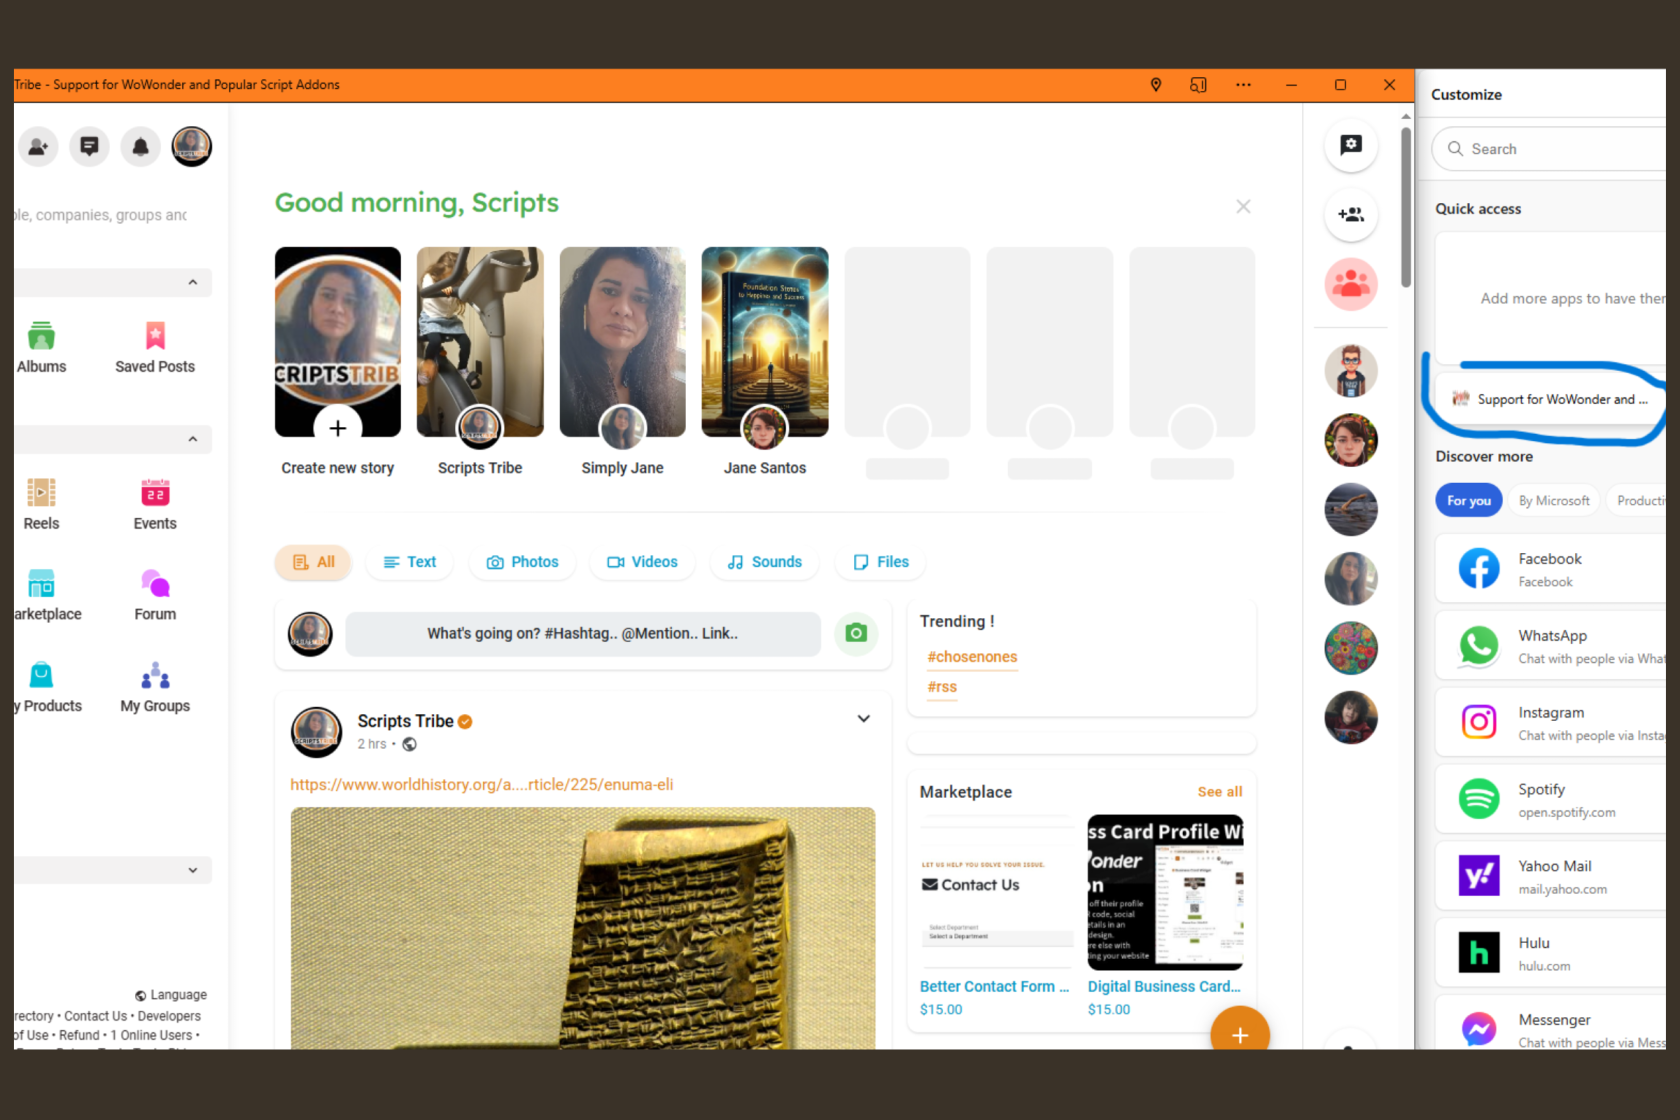
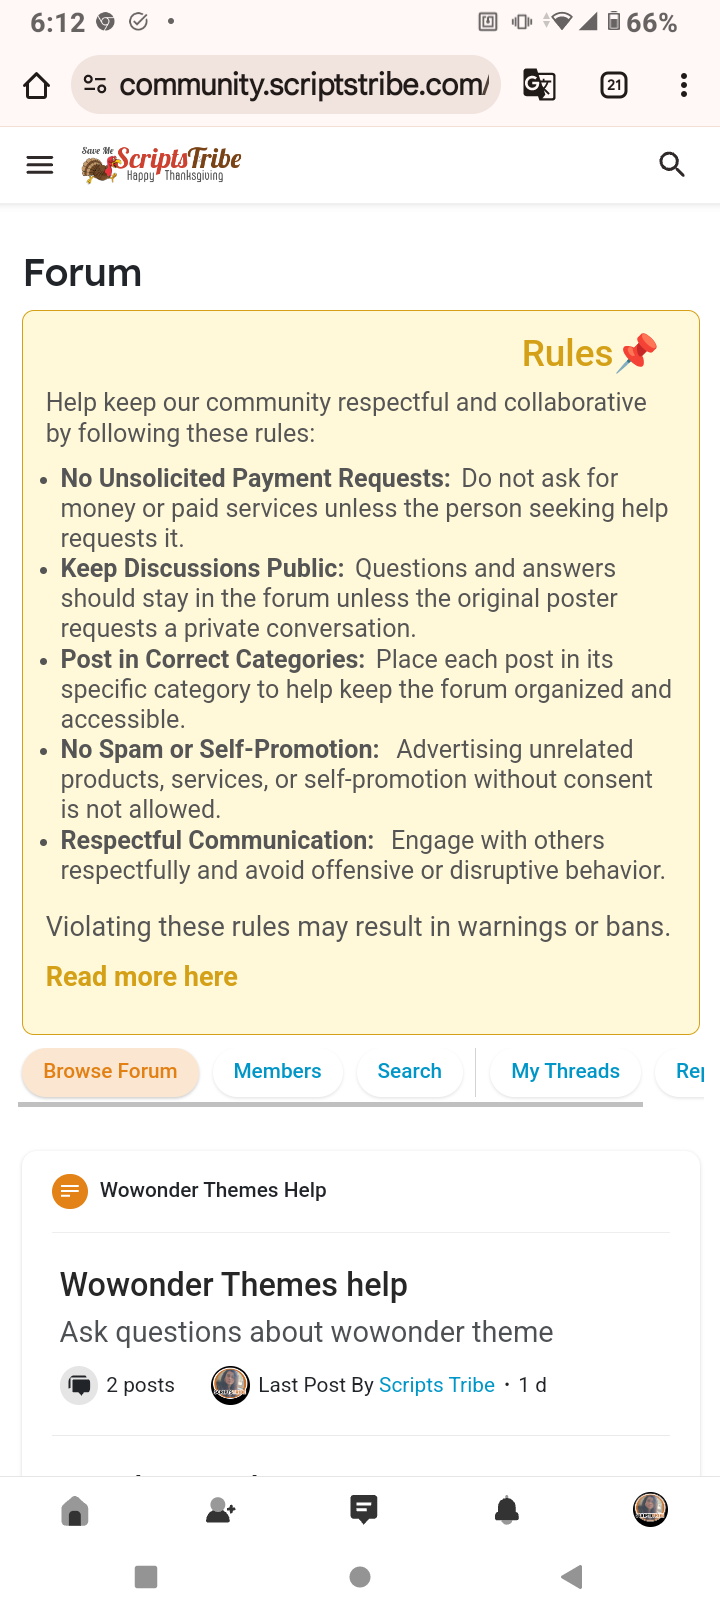
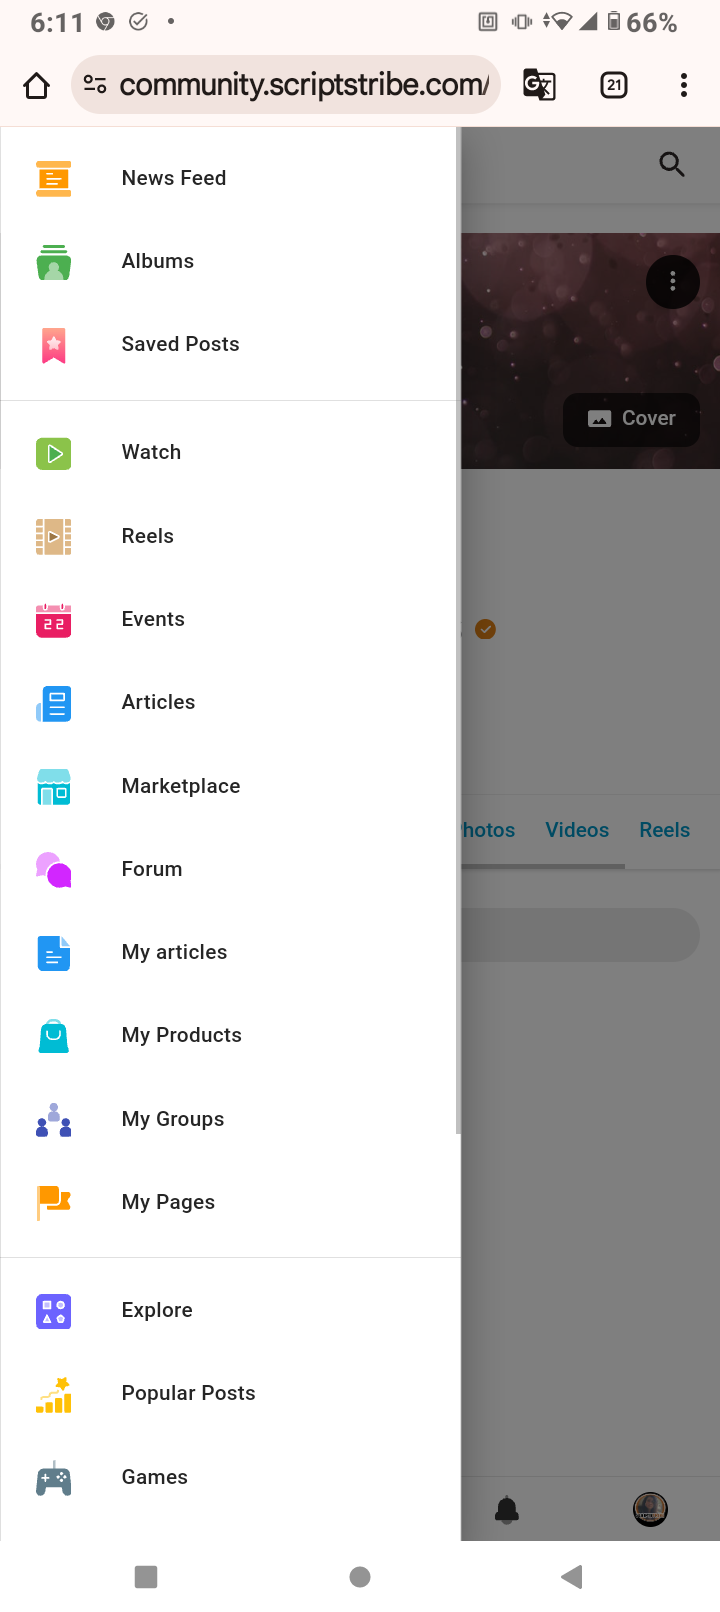
Next you will create the screenshot images of your site. this is a example with my site and please name the images the same way, the screenshots will show like this when a user click the install button. pretty hum? check all the images names bellow.
desktoplogout.png
desktoplogin.png
forums.png
features.png
explore.png
screenshot3.png
Enjoy! And if you love it leave me a review here it really helps build a reputation.


